BBQRecipez
  • Recipes
    • Chicken
    • Pork
    • Sausage
  • Reviews
  • Kitchen
  • Cooking Tips
No Result
View All Result
  • Recipes
    • Chicken
    • Pork
    • Sausage
  • Reviews
  • Kitchen
  • Cooking Tips
No Result
View All Result
BBQRecipez
No Result
View All Result
Home Recipes

How to Defrost Shrimp – 2 Super Easy Ways to Do It

by Jack Smith
February 26, 2020
in Recipes, Shrimp
553 11
5
How to Defrost Shrimp – 2 Super Easy Ways to Do It
847
SHARES
4k
VIEWS
Share on FacebookShare on Twitter

Buying shrimps may be a bit confusing for a newbie cook. While it may be tempting to buy a bag of fresh-looking shrimps in the supermarket, I’d still recommend buying frozen shrimps instead.

Ironically, frozen shrimps are often fresher than thawed-out ones because shrimps are usually frozen right after they’re harvested. If you spot thawed-out shrimps in the supermarket, there’s really no way of telling how long they’ve been sitting there or how fresh they really are.

If you’re worried about how to defrost frozen shrimps for your recipe, I’ve got you covered. I will share two easy ways on how to defrost shrimps and keep their flesh firm and their taste delicious. 

Quick Navigation
Option 1: Defrost Using a Bowl of Cold Water
Things You Need
Procedure
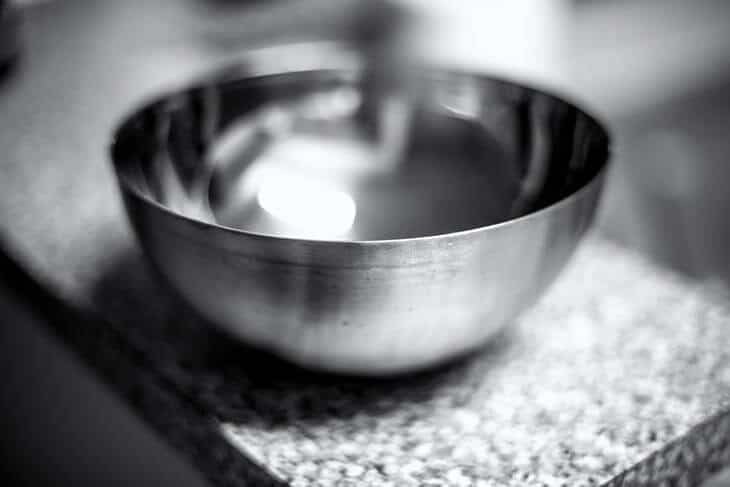
1. Fill the bowl with cold tap water.
2. Stack the colander or sieve in the bowl.
3.Transfer shrimps into the colander or sieve.
4.Submerge shrimps in the bowl and defrost.
5.Check your shrimps.
6. Remove from the bowl, drain, and pat dry.
Option 2: Thaw Overnight in the Fridge
Things You Need
Procedure
1. Place shrimps in the bowl or container.
2. Rinse, drain, and pat dry.
Conclusion

Option 1: Defrost Using a Bowl of Cold Water

Things You Need

  • Large bowl or container
  • Cold tap water
  • Colander or fine-mesh sieve
  • Cutting board or large plate
  • Paper towels

Procedure

1. Fill the bowl with cold tap water.

While using hot water sounds more logical when you want to thaw something, I find that using cold tap water is the best way to defrost shrimps. Cold water keeps the shrimps’ flesh firm and intact. Hot water, on the other hand, tends to make the flesh soggy, which could affect the taste and texture of the shrimps.

ALSO READ :-  3 Kulfi varieties for Kulfi lovers

I recommend placing your bowl in the sink or near it for two reasons. One, you can easily replace the water with a fresh batch if you need more time to defrost your shrimps. Two, it allows the sink to catch any spillover water from the bowl, which may cut down on your cleanup time later.

2. Stack the colander or sieve in the bowl.
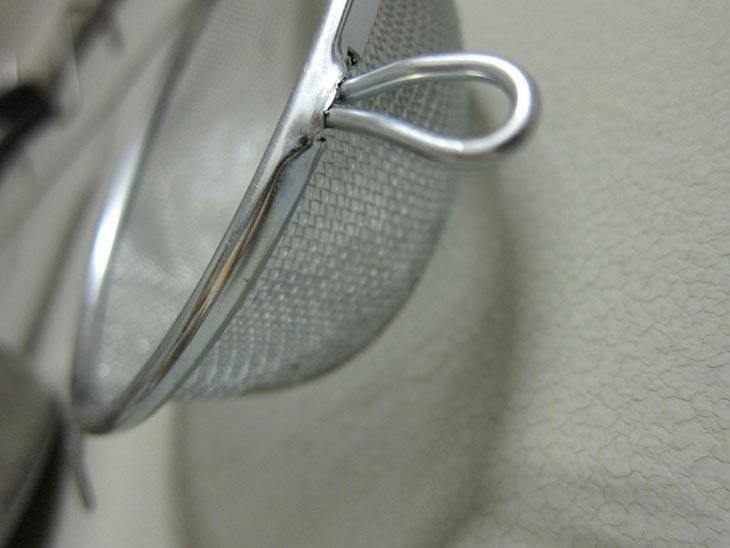
​Pick a fine-mesh sieve or colander that will fit snugly in your bowl or container. While a stainless sieve or colander is the more common choice, a plastic or silicon one should work just as fine.

Place your colander or sieve in the bowl and check your water level. Ideally, you should have enough water so that you can completely submerge your shrimps without any excess water spilling out. If water does spill, make sure your bowl is in the sink so that it can immediately catch the excess water.

3.Transfer shrimps into the colander or sieve.
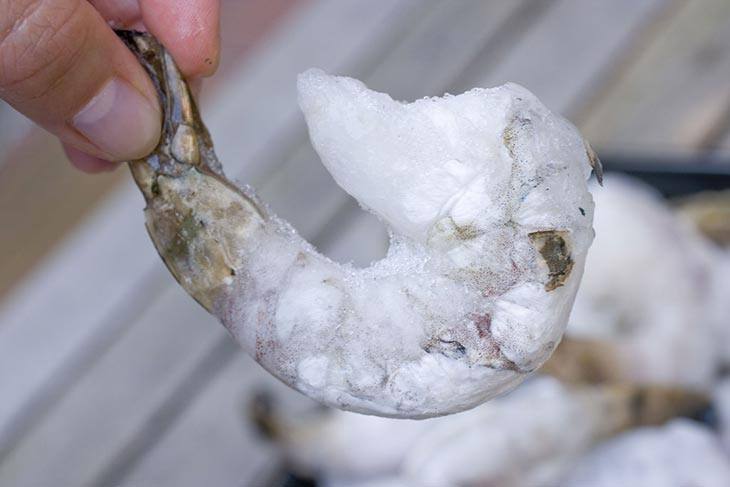
​Get only the number of shrimps you need for your recipe and return the rest in the freezer. This will keep them fresh longer. Do not defrost shrimps and then return them into the freezer because you risk spoiling them.

If you’re having a hard time getting the shrimps out of their supermarket package, you can run them under tap water for a few minutes. Gently remove the shrimps you need, drain the excess water out, and quickly return the rest in the freezer.

4.Submerge shrimps in the bowl and defrost.
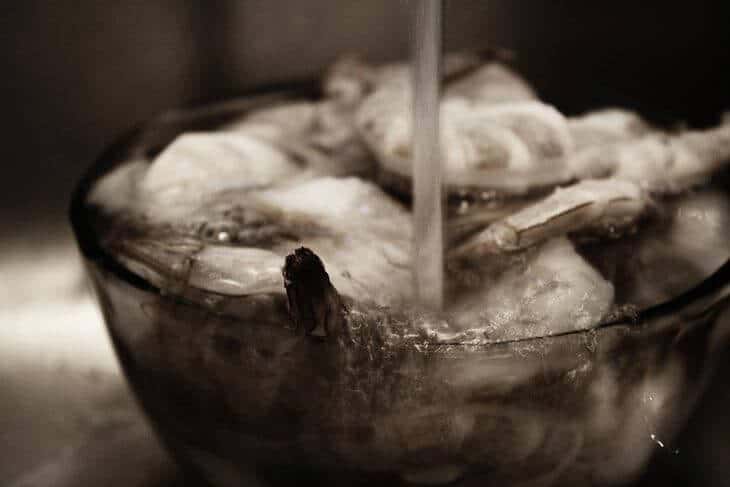
Make sure all shrimps are submerged in the cold tap water and leave them for a couple of minutes to allow them to defrost.

ALSO READ :-  4 Mouth-watering Recipes for Rice Lovers

Small to medium-sized shrimps usually take 10 to 15 minutes to completely thaw out. Prawns and big shrimps, on the other hand, take about 25 to 30 minutes.

5.Check your shrimps.
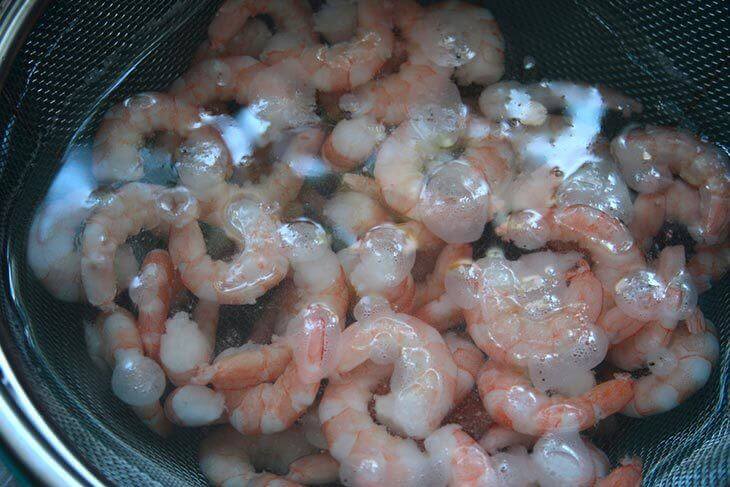
​After 10 minutes, you can start checking if your shrimps are fully defrosted. To do this, simply lift your sieve or colander from the bowl, take one shrimp and gently press it between your thumb and index finger. Don’t squeeze the shrimp as this would bruise it and affect the quality of its meat.

If the shrimps are not yet defrosted, throw out the water in the bowl, replace it with a fresh batch, and re-submerge your shrimps. Check again after 5 to 10 minutes.

6. Remove from the bowl, drain, and pat dry.
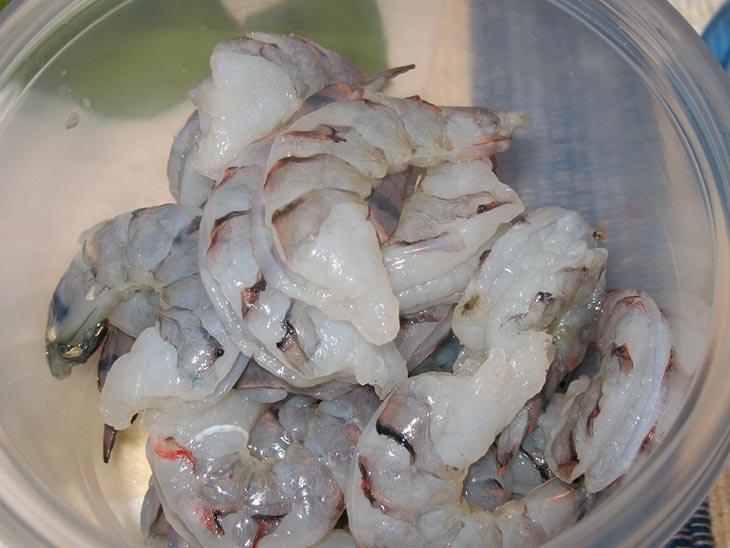
​Once the shrimps are full defrosted, remove your sieve or colander from the bowl and rinse the shrimps with cold water. Let the excess water drain out.

Place a paper towel on a cutting board or plate. Place the defrosted shrimps on the towel, cover with another sheet, and allow the towels to absorb the remaining water. Gently pat dry and prepare for grilling or cooking.

Option 2: Thaw Overnight in the Fridge

Things You Need

  • Airtight container or bowl with cover (you can use plastic wrap if you don’t have a lid)
  • Cold tap water
  • Cutting board or plate
  • Paper towels

Procedure

1. Place shrimps in the bowl or container.
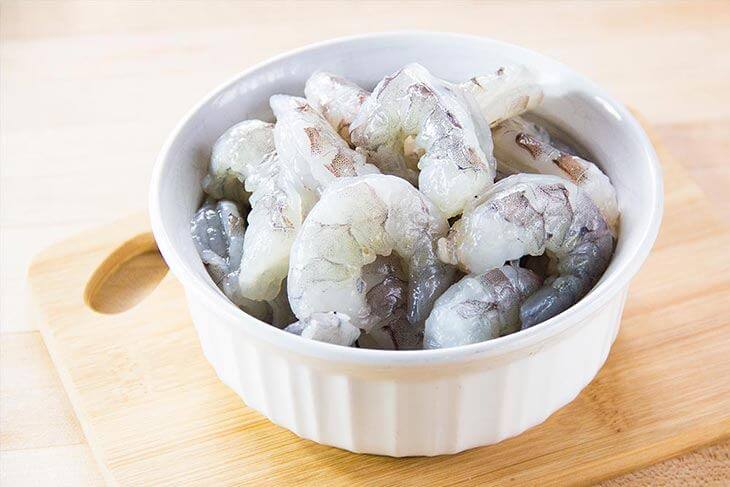
​Place the number of shrimps you need in the container. If you’re using a bowl without a lid, you can use a plastic wrap to seal its opening. The important thing is to have the shrimps sealed so that the flavors of the other food in the refrigerator won’t transfer to them.

ALSO READ :-  Top 5 Fried Chicken Recipes to Try at College Dorm

Ideally, your fridge should be around 40 F so that the shrimps will thaw faster. I advise thawing your shrimps at night so that you can cook them the next morning.

2. Rinse, drain, and pat dry.
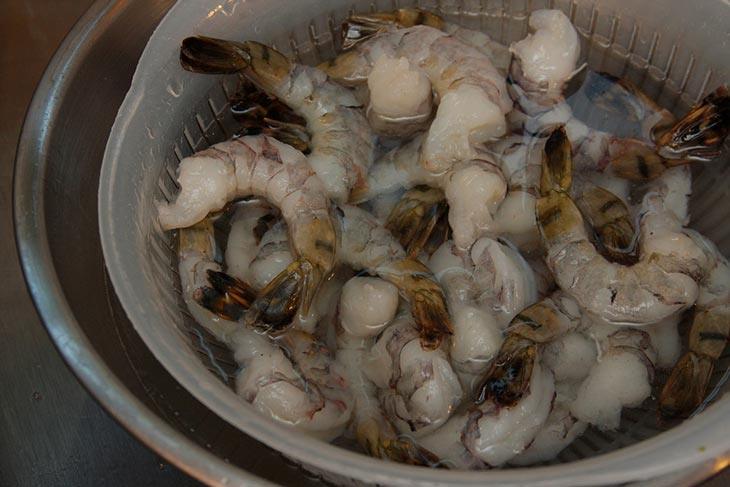
Remove the bowl of shrimps in the fridge and rinse them under running cold tap water. This may also help get rid of any remaining ice still covering the shrimps. Drain excess water from the bowl.

Place a paper towel on a plate or cutting board and place the thawed shrimps on them. Cover with another sheet of towel and let them absorb any excess water. Pat dry and prepare.

Conclusion

Shrimps taste great when defrosted properly, so don’t hesitate to use them in your salad or seafood dish. Just remember to cook them immediately after defrosting so their quality doesn’t go down or they end up spoiled. Remember: Shrimps taste best when they’re fresh!

Is this article helpful? Leave your comments and suggestions in the comments’ section. I’d love to hear from you! Also, please take the time to share this article and other my recipes with your friends. It might help them, too. Enjoy your shrimps!

Previous Post

Best Santoku Knife for 2025 – Ultimate Reviews & Buyer’s Guide

Next Post

How Long Do Avocados Last? – Keeping Avocados Fresh and Tasty

Jack Smith

Jack Smith

If you're looking for some great Outdoor Cooking Recipes, then you found the right channel! BBQRecipez.com brings you helpful barbecue tips and tricks, recipes and product overviews.

Related Posts

How To Make a Beef Carpaccio Recipe
Recipes

How To Make a Beef Carpaccio Recipe

December 11, 2020
4 Mouth-watering Recipes for Rice Lovers
Recipes

4 Mouth-watering Recipes for Rice Lovers

November 3, 2020
Recipes

October 21, 2020
3 Kulfi varieties for Kulfi lovers
Recipes

3 Kulfi varieties for Kulfi lovers

July 29, 2020
Next Post
How Long Do Avocados Last? – Keeping Avocados Fresh and Tasty

How Long Do Avocados Last? – Keeping Avocados Fresh and Tasty

Comments 5

  1. christine hadden says:
    3 years ago

    You know, that does make sense now that you say it that the defrosted ones in the store might not be as fresh as the frozen. I hadn’t really thought of it like that and usually go for the defrosted. I’m changing my ways!

    Reply
  2. Shashi at SavorySpin says:
    3 years ago

    Gah – I’ve been doing it all wrong! I sometimes just submerge the bag with shrimp in cold water – next time I’ll just take what I need and use your method! Thanks Jack!

    Reply
  3. Dawn says:
    3 years ago

    Great tips! I usually have shrimp handy and typically run over cold water and that does the trick. I love how quick they cook up!

    Reply
  4. Danielle says:
    3 years ago

    We always do ours in a bowl with cold water – it never fails.

    Reply
  5. Ginny says:
    3 years ago

    This is a greta basic lesson that so many people will be checking out!

    Reply

Leave a Reply Cancel reply

Your email address will not be published. Required fields are marked *

This site uses Akismet to reduce spam. Learn how your comment data is processed.

No Result
View All Result

How Do Safe Grabs Work?

How To Clean A Gas Grill?

How To Make a Beef Carpaccio Recipe

Kitchen Tips: How Spices Change the Flavour of Your Food

4 Mouth-watering Recipes for Rice Lovers

How to clean a waffle maker

Follow on Instagram

Follow

  • Raise your hand up if you like matcha latte         insiderthekitchen
  • Monster  You re a monster                            foodgasm  yum  eat  foodpic  dinner  foodpics  lunch  breakfast  foodphotography  foodlover  tasty  hungry  foodblogger  dessert  healthyfood  chocolate  foods  cooking  cake  eeeeeats  foodies  eating  homemade  chef  foodblog  nomnom  delish  feedfeed  fresh
  • RIGATONI PIE  rigatoni  Servings  10  INGREDIENTS 1 tablespoon olive oil  1 pound ground beef 2 cloves garlic  minced 1 teaspoon salt    teaspoon pepper 1 28-ounce can crushed tomatoes  1 pound rigatoni pasta  1 cup parmesan  grated  1 cup mozzarella  shredded  Special Equipment Springform pan  PREPARATION Boil the rigatoni in salted boiling water until just underdone or al dente  Drain the pasta and place in a bowl with a little olive oil so the pasta doesn t stick together  Set aside   Preheat oven to 400  F 200  C  In a pan  heat the olive oil and add the ground beef   Break up and stir the beef until brown   Add in the garlic  salt  and pepper  Stir until combined   Add in the crushed tomatoes and simmer until thickened  about 20 minutes   Sprinkle the prepared pasta with the parmesan cheese and mix   In a springform pan  place the rigatoni noodles standing up to fill the pan   Pour the sauce over the noodles and bake at 400  F 200  C for 15 minutes   Sprinkle the pie with the mozzarella cheese and bake for another 15 minutes at the same temperature   Slice and serve
  • When you buy pet food        Photo by   teddyythecorgi    iglovedogs to be featured
  • Brownie Parfait  Save this recipe on our app  Link in bio     INGREDIENTS     12 oz bittersweet chocolate  melted    1 cup unsalted butter  melted    3 cups granulated sugar    6 eggs       cup cocoa powder    pinch of salt    1    cups all-purpose flour       cup mini chocolate chips    1 can condensed milk    vanilla ice cream    whipped cream    STEPS     Make the brownies  Place the bittersweet chocolate and butter in a heatproof bowl over a pot of simmering water  Stir until fully melted  then remove from the heat  Gradually whisk in the sugar and add the eggs one at a time  mixing after each addition  Add the cocoa powder and the pinch of salt  Gently fold the flour into the mixture with a rubber spatula and add the mini chocolate chips  Pour the mixture into a square 9  9-inch cake pan that has been butter and lined with parchment paper  ensuring that excess parchment paper is hanging off of both sides  Smooth the surface of the batter and bake at 350F for 60-80 minutes or until fully cooked  Place the pan on a wire rack and allow the brownies to cool completely while still in the pan     Make the dulce de leche caramel  Place the entire can  unopened  of condensed milk in a deep pot and cover completely with water  Bring to a boil over high heat and boil for 3 hours  Be sure to top with water every so often  as it will evaporate  Remove the can from the water and cool until you can handle it without burning  Open the can to reveal homemade dulce de leche     To assemble the parfaits  layer some brownie pieces in the bottom of tall glasses and dollop some vanilla ice cream on top  Spread some caramel on top of the ice cream and repeat until you fill the glasses  Place a dollop of whipped cream on top and decorate with some butterscotch chips       butterscotch  chocolate  desserts  brownie
  • A beautiful burrata      insiderthekitchen  foodies  foodaddict  fooddiary  foodshare  foodiegram  foodphoto  foodstyling  foodstagram  foodblogger  foodlover  food  foodporn  foodoptimising foodism
  •  insiderthekitchen  foodies  foodaddict  fooddiary  foodshare  foodiegram  foodphoto  foodstyling  foodstagram  foodblogger  foodlover  food  foodporn  foodoptimising foodism
  •  insiderthekitchen  foodies  foodaddict  fooddiary  foodshare  foodiegram  foodphoto  foodstyling  foodstagram  foodblogger  foodlover  food  foodporn  foodoptimising foodism
  •  insiderthekitchen  foodies  foodaddict  fooddiary  foodshare  foodiegram  foodphoto  foodstyling  foodstagram  foodblogger  foodlover  food  foodporn  foodoptimising foodism
  • How Long Can Cooked Chicken Sit Out? Remember 3 Things!

    How Long Can Cooked Chicken Sit Out? Remember 3 Things!

    11922 shares
    Share 4769 Tweet 2981
  • How to Thicken Frosting: Choose From These 5 Easy Ways

    8605 shares
    Share 3432 Tweet 2145
  • How Much Pulled Pork Per Person Should I Cook for Parties?

    5689 shares
    Share 2231 Tweet 1395
  • How Long Does Cream Cheese Last? It’s Longer Than You Think!

    2155 shares
    Share 862 Tweet 539
  • How to Reheat Ribs and Keep Them Juicy? It’s Super Simple!

    1581 shares
    Share 610 Tweet 382
  • Trending
  • Comments
  • Latest
How Long Can Cooked Chicken Sit Out? Remember 3 Things!

How Long Can Cooked Chicken Sit Out? Remember 3 Things!

December 25, 2020
How to Thicken Frosting: Choose From These 5 Easy Ways

How to Thicken Frosting: Choose From These 5 Easy Ways

May 7, 2020
How Much Pulled Pork Per Person Should I Cook for Parties?

How Much Pulled Pork Per Person Should I Cook for Parties?

February 26, 2020
How Long Does Cream Cheese Last? It’s Longer Than You Think!

How Long Does Cream Cheese Last? It’s Longer Than You Think!

February 26, 2020
Top 10 Best Electric Smoker Reviews for 2025

Top 10 Best Electric Smoker Reviews for 2025

9
Breakfast Bombs Recipe – It’s Easier Than You Think!

Breakfast Bombs Recipe – It’s Easier Than You Think!

8
How to Smoke a Whole Chicken? It’s So Simple And Easy

How to Smoke a Whole Chicken? It’s So Simple And Easy

7
How to Smoke Succulent Sausages – This is the Best Way to Do It!

How to Smoke Succulent Sausages – This is the Best Way to Do It!

6
How Do Safe Grabs Work?

How Do Safe Grabs Work?

February 16, 2021
How To Clean A Gas Grill?

How To Clean A Gas Grill?

January 22, 2021
How To Make a Beef Carpaccio Recipe

How To Make a Beef Carpaccio Recipe

December 11, 2020
food

Kitchen Tips: How Spices Change the Flavour of Your Food

December 8, 2020
bbqrecipez

Hello & welcome to my blog! My name is Jack Smith and I'm a 28-year-old independent blogger with a passion for sharing about BBQ & Food Recipes.

Follow & Subscribe

Recent Posts

  • How Do Safe Grabs Work?
  • How To Clean A Gas Grill?
  • How To Make a Beef Carpaccio Recipe
  • Kitchen Tips: How Spices Change the Flavour of Your Food
  • 4 Mouth-watering Recipes for Rice Lovers

Browse by Category

  • Bacon
  • Chicken
  • Cooking Tips
  • Kitchen
  • Pork
  • Recipes
  • Reviews
  • Salmon
  • Sausage
  • Shrimp
  • About
  • Privacy Policy
  • Terms of Services
  • Affiliate Disclosure
  • Contact

© 2025 BBQRecipez.com

No Result
View All Result
  • Recipes
    • Chicken
    • Pork
    • Sausage
  • Reviews
  • Kitchen
  • Cooking Tips

© 2025 BBQRecipez.com

Welcome Back!

Login to your account below

Forgotten Password?

Create New Account!

Fill the forms bellow to register

All fields are required. Log In

Retrieve your password

Please enter your username or email address to reset your password.

Log In